I played two 50ss games of Malifaux on subsequent days, so they're both in this post. Both games took part in Fractured Futures global campaign. Likely the last campaign games I will be able to play.
Strategy: Wedge Cloak and Dagger
Schemes: Take Prisoner, Power Ritual, In Your Face, Death Beds, Hold Up Their Forces
My list:
Seamus with The Whisper & Copycat Killer
Madame Sybelle
Bete Noire
Corpse Curator
Gravedigger
Mourner
Dead Doxy
Mindless Zombie
Pool: 4
Schemes: Death Beds (Corpse), In Your Face
Wicked Whisper: two corpse markers
Opponent had:
Kaeris & Eternal Flame
Elijah Borgmann
Carlos Vasquez
Firestarter
Fire Golem
2x Firebrander
Fire Gamin
Pool: 0
Schemes: Death Beds (Pyre), In Your Face
Moonshine Madness: Condition on enemy model within 3" of Nia during friendly activation
Turn 1:

Seamus was interrupted by Fire Golem, and I had to spend two soulstones to protect him. Copycat Killer still had not activated, and teleported him to centerline near strategy marker closest to bottom. From there he managed to claim intel and even shoot one of the Firebranded dead,
Mourner and Bete Noire were trying to approach from top, while center was held by superior tanks such as Copycat Killer and Mindless Zombie. Well, Madame Sybelle or Dead Doxy were not that far from action, and Corpse Curator was dangerously close to Fire Golem.
However, the entirety of Wildifre were standing within about 6" of the center point, with three pyre markers to boot.
Turn 2:

It was a distressing turn for sure. Fire Golem dropped a scheme marker and charged Corpse Curator. One attack was not enough to kill the thing, so it made haste to drag a corpse marker along next to Nia while it still was able to do so. It also dropped a scheme marker for maybe some Death Beds one day.
And true enough, opponent poured everything they could at Corpse Curator. Kudos for it for surviving the torrent of attacks throughout the turn, until Carlos blew the out-of-keyword enforcer out of the board.
However, Corpse Curator was not the only model to get beaten up. Seamus tried to shoot a Firebranded, but missed. He also picked up intel, and charged Firebranded, managing some random points of damage. But Kaeris and the minion himself kept attacking Seamus. They didn't even fail their Terrifying checks, so Seamus didn't heal.
Copycat Killer had to bail Seamus out of there, and Mindless Zombie - who I had hired just for this purpose - was able to assist six points of burning off of Seamus. And yet, Redchapel master was still burning...
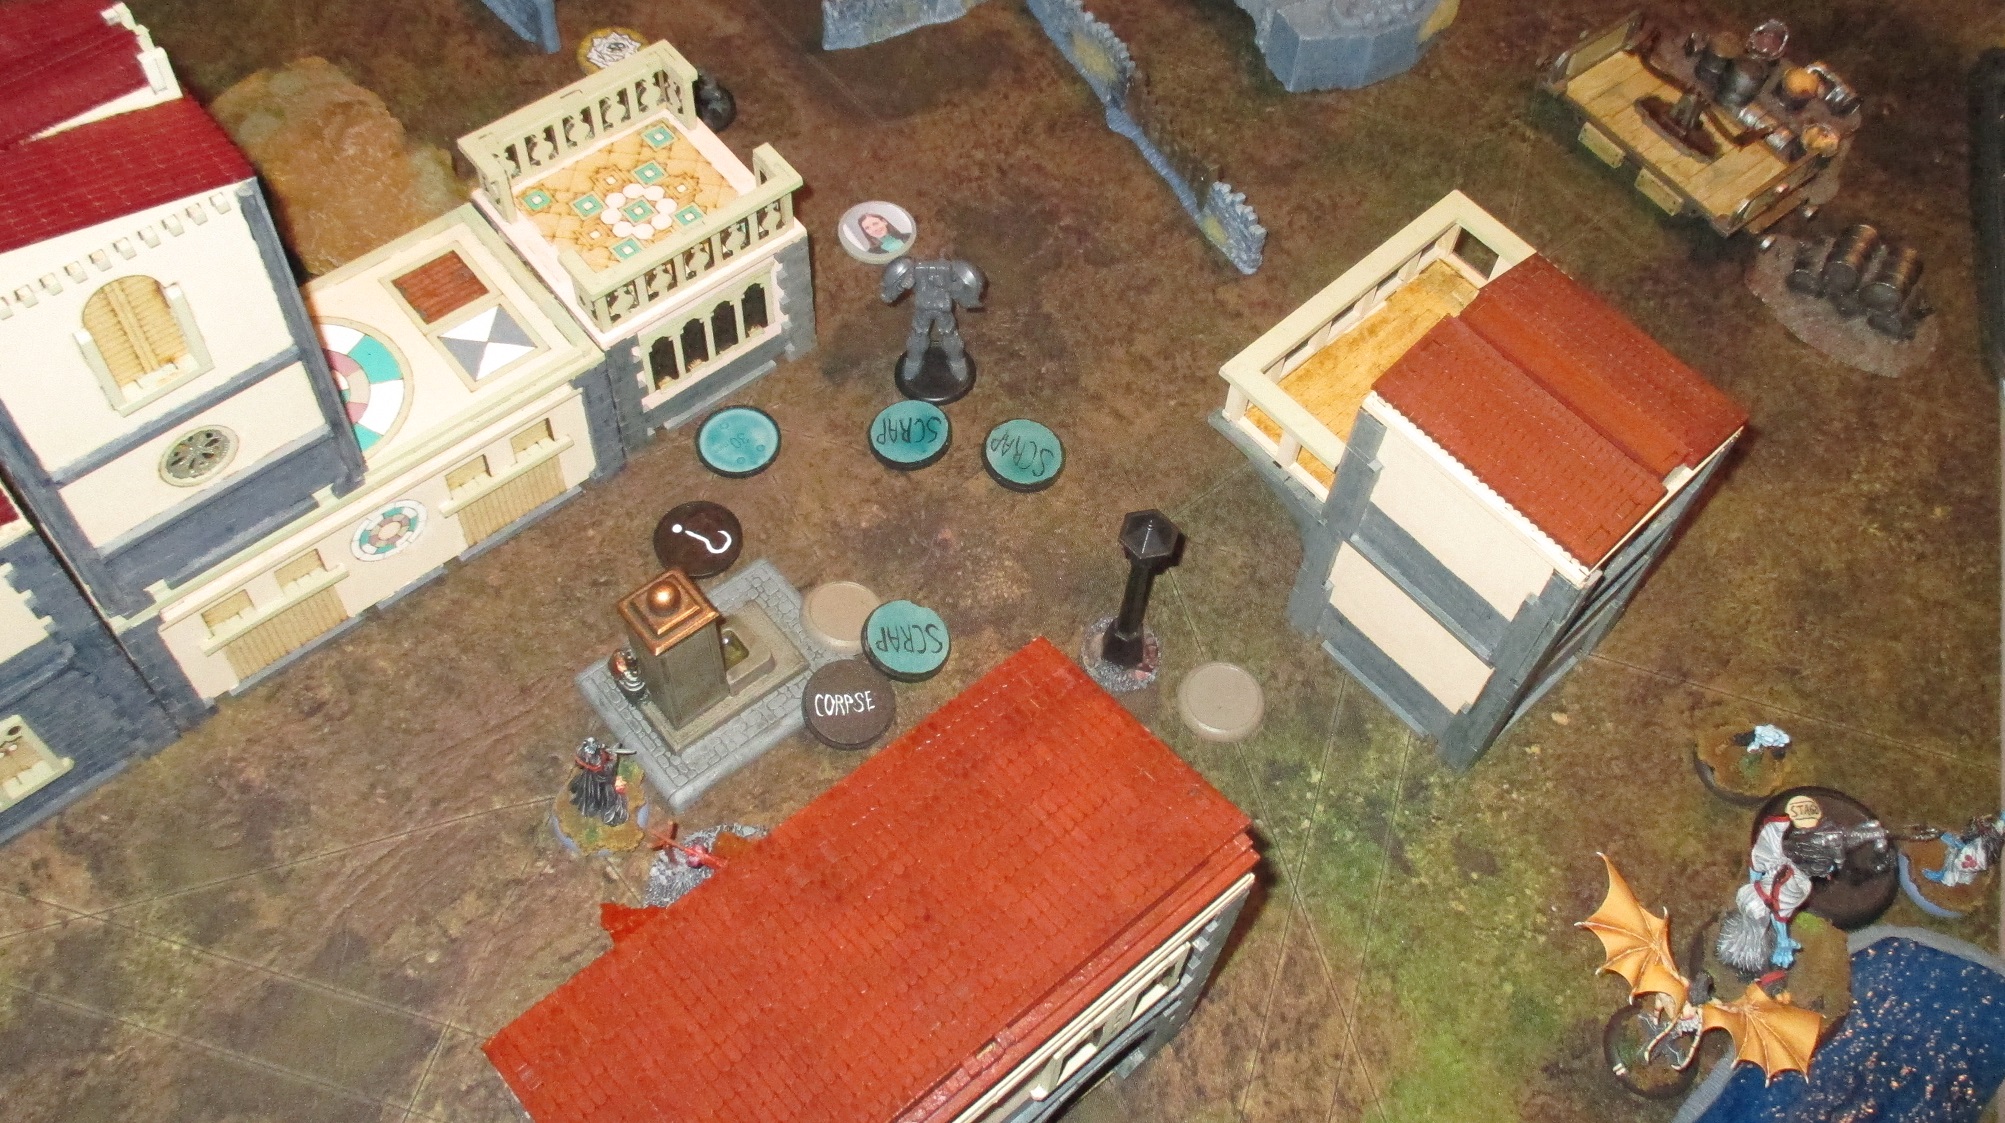
Seamus also had about five health remaining, so I decided to reposition Mourner and even Bete Noire closer to middle. Bete Noire tried to soften up Carlos, and did well enough. Mourner's role was to get rid of Elijah's Ruthless if he attempted to attack Seamus. In the picture he's behind Fire Golem.
Both players scored Nia and strategy this turn, but Arcanists also received Death Beds from Corpse Curator for a lead of 3-2.
Turn 3:

Seamus was able to heal himself a bit with Terrorize. A moderate shot injured Fire Golem somewhat, but Seamus didn't dare to show his face any longer, escaping behind a house.
Firebranded healed Fire Golem enough for me not to have any hope of killing it.
Bete Noire tickled Carlos for a bit and charged Fire Gamin dead. Kaeris and Elijah charged Bete, managing to fade her away with enough burning to kill her while buried. Uh oh.
Dead Doxy was able to remove Madame Sybelle from melee and pick up intel, but she had also received enough burning to die from it during end phase.
Mourner and Mindless Zombie both tried to attack Carlos without much of an effect, but finally Madame Sybelle dealt the killing blow, thus scoring In Your Face.
Eventually Copycat Killer repositioned Seamus back at strategy markers for upcoming turns.
Both players scored strategy, and Resurrectionists got In Your Face for a tie of 4-4.
Turn 4:

Seamus went to take two shots at Fire Golem, connecting both but scoring only a moderate and a weak damage.
Firebranded healed the Golem again, and - well, I had made up my mind about going all in. Copycat Killer switched places with Seamus and started shooting the Golem. And finally it went down after it ran out of burning to block damage.
Hooray! Death Beds!
However, before Kaeris went to pick up some intel, Elijah, Firebranded or whoever had killed Madame Sybelle, scoring In Your Face for Arcanists.
It looked kind of a game over, until an unlikely hero appeared. Mourner shot unactivated Firestarter dead with a Feed on Grief by flipping Red Joker on damage.
Unfortunately Eternal Flame extinguished Mourner's flame, and Copycat Killer just burned into crisp from conditions gathered throughout the game.
So, although points went to 5-5 tie, a lone Seamus would not be able to turn the tables around... or would he?
Turn 5:
Elijah was able to charge Seamus, but he flipped Red Joker on damage block. Seamus, however, was not in a position to teleport twice to place scheme markers next to corpse markers. Instead, he teleported to top-left corner to flee the scene with two health and three burning.
Kaeris was able to pick enough intel for third strategy point, and there were still enough models to place a couple of schemes next to pyre markers. So, it was a damn bloody 7-5 victory for Arcanists.
Game 2:
Strategy: Corner Plant Explosives
Schemes: Protected Territory, Hold Up Their Forces, Power Ritual, Espionage, Death Beds
My list:
Molly Squidpiddge & Necrotic Machine
Carrion Emissary
Noxious Nephilim
Forgotten Marshal with The Whisper
Rabble Riser
Night Terror
2x Crooligan
Pool: 3
Schemes: Espionage, Power Ritual
Wicked Whisper: Summon a model while within 3" of Nia
Opponent had:
Nekima, Broodmother & Blood Hunter
Hayreddin
Serena Bowman
Mature Nephilim
Young Nephilim
Black Blood Shaman
Terror Tot
Pool: 6
Schemes: Hold Up Their Forces, Death Beds (Corpse)
Parasitic Protection: Heal within 3" of Nia
Turn 1:

However, after first turn had passed, a Young Nephilim was threatening both of them, despite opponent only having one of them in his list. Kids sure grow up so fast these days.
Forgotten Marshal summoned a Night Terror that he launched to my deployment corner - I had messed up the deployment to easily place a scheme marker for Power Ritual. Noo, you wouldn't know, it might still be for Espionage! That's a perfectly reasonable investment in a bluff! Well, at least it served double duty.
Rabble Riser goes running towards top-right corner, with Noxious Nephilim flying about in a forest nearby. Both had explosive tokens, so they were a bit hesitant to enter middle melee that was bound to be saturated with Mature Nephilims and whatnot.
Speaking of which, Mature took a double walk which prompted damage from Lethe's Caress. Serena later threw some bottles of painkillers down Mature's throat, claiming first fracture token that way. Thanks, Molly.
Carrion Emissary went to summon zombies within 3" of Nia marker, thus also scoring fracture token for Resurrectionists.
I had Molly, Emissary, hired Night Terror, Forgotten Marshal and Necrotic Machine contesting the middle along with two Mindless Zombies now. It felt awfully little against Hayreddin, Serena and Mature Nephilim, with Black Blood Shaman and Nekima not too far away.
Turn 2:

Hayreddin went to place a strategy marker into outskirts of center forest. Forgotten Marshal disapproved and went to put the henchman in pine box. Later he also acted as a teleport beacon for surviving Crooligan, who jumped to him to pick up Hayreddin's bomb and to toss it to Neverborn side of table right away.
Molly had activated to try to draw crows for Forgotten Marshal, but no such luck. She went closer to centerline and managed to slow Mature Nephilim as well as damaging it heavily. But then Serena activated, healed the Mature for a bit and removed slow with bottle of painkillers. Ah well, it was fun while it lasted.
Mature killed a Mindless Zombie and charged Molly, dealing four damage back, which was reduced to two with a soulstone.
I wanted that Nia point this turn, so instead of Aura of Decay Carrion Emissary summoned even more zombies. It also killed a Terror Tot that Nekima had summoned. The Neverborn master charged in and killed a Mindless Zombie while Dark Bargaining a scheme marker nearby. Black Blood Shaman took interest in Carrion Emissary and charged it.
Rabble Riser was able to reach Young Nephilim with a charge & flurry attack, not even missing all of his attacks.
Necrotic Machine tried to heal a Night Terror that was hiding in ruins, but failed the target number. As opponent had no cards in control hand, Necrotic Machine took a 3" move in end phase and attacked Mature Nephilim, most importantly scoring two points of poison.
So, the Crooligan had managed to rob Neverborn of their first strategy point. They did, however, reaveal Hold Up Their Forces. Resurrectionists got strategy and Nia point for a 2-1 lead.
Turn 3:

Next to activate had to be Rabble Riser. It took all of his actions and a flurry, but fortunately Young Nephilim went down. But he would not be able to power a ritual this turn.
I was indeed worrying about my Power Ritual and Espionage, so after Emissary and Rabble Riser I made it an imperative to deliver Crooligan to where it mattered. Noxious Nephilim dropped a scheme to centerline and walked forward for Crooligan to teleport. He did, and placed his explosive. Good, I guess, but no schemes.
In the center, Nekima charged Carrion Emissary to block line of sight to Mature Nephilim, and kept healing it while I was busy hurrying up Crooligan.
Serena had removed Poison from Mature Nephilim, so Necrotic Machine had to re-apply it. But attacking those Black Blood models is stressful with a health pool of four. The machine healed itself for a bit, but still succumbed to Mature's attacks. While it didn't seems such a big deal then, I sorely missed a healer when Black Blood Shaman somehow kept hitting Carrion Emissary, sometimes with moderate damage. After the turn Emissary had just three or so health points remaining.
A stampeding Blood Hunter was able to wreck both Mindless Zombies, who until then had been quite resilient to Black Blood thanks to Nia's shieldings. Hired Night Terror committed to killing the Blood Hunter with one health remaining, but just couldn't do it. Forgotten Marshal had to summon a Rabble Riser that did a little better job, although only with flurry attack that had me discard black joker from my hand.
By now summoned Night Terror had spawned two scheme markers on my deployment, and the Young Nephilim from bottom-left corner had dropped an explosive and flew closer to center melee.
Molly managed to disturb Mature Nephilim dead with her story, walked and placed a scheme marker for Espionage.
Both players scored strategy but nothing else, for a 3-2 lead for Resurrectionists.
Turn 4:

But being at one health is... a bit of a hazard against Nekima2. What ultimately fell my ten point enforcer was the Terror Tot that had just been summoned. And it did so by failing terrifying check. It scored Death Beds, gained a grow token and ate the Emissary's corpse token. And 'lo, Young Nephilim. What did I say about kids growing fast, again?
Young Nephilim from bottom-left picked up the strategy marker Crooligan had stolen on turn 2 and flew away from action. Forgotten Marshal pine boxed Hayreddin again, this time after it had activated.
Hired Night Terror in the middle was able to kill Black Blood Shaman, and summoned Rabble Riser tried to do the same for terror tot Young Nephilim, but did a whole lot of worse than the hired counterpart top-right. Summoned Night Terror just tried to position itself so it might do something of consequence during last turn of game.
Serena ran next to the forest in middle, carrying an explosive token.
Rabble Riser top-right walked to corner and schemed, while Noxious Nephilim walked and schemed in enemy deployment. Crooligan took a double walk towards top-left corner. Molly had no time to search for lost knowledge, and had to do a double walk to place my third strategy marker.
Resurrectionists scored both schemes and strategy, and Neverborn got their Death Beds, strategy and Nia for a 6-5 lead for Resurrectionists.
Turn 5:
Rabble Riser, Noxious Nephilim and Crooligan were able to secure both schemes and fourth strategy point without much of a chance for Neverborns to react.
They, however, were able to build three pairs of corpse + scheme marker, so it was impossible for Molly to go and discreetly remove a critical piece.
Serena was able to drop her bomb, and summoned Night Terror just went to die to Young Nephilim left of the forest.
There wasn't enough high cost models nearby for opponent to engage, so Hold Up Their Forces failed. Game ended in 9-7 victory for Resurrectionists.